If you have not, try OpenAI’s Whisper, speech-to-text AI. It’s free and works on a personal computer without sending data to the cloud. With my M1 mac mini 16GB RAM, it takes about 90% of the actual length of audio file to complete the transcription, and the accuracy/quality is also about 90% in Japanese or even better in English. After transcribing multiple types of speeches, I researched and tried various parameter changes to increase the accuracy, but it turned out to be nearly impossible, at least for now. So, I changed my mind and started building an app that I can edit subtitles easily while playing speech audio file simultaneously. In this post, I’m going to introduce the standalone desktop app that I built with Flet, GUI application development framework for Python. l’m going to write another post to share more about the code. For the time being, you can read my code that I added comments as many as I could (GitHub).
Contents
Introduction
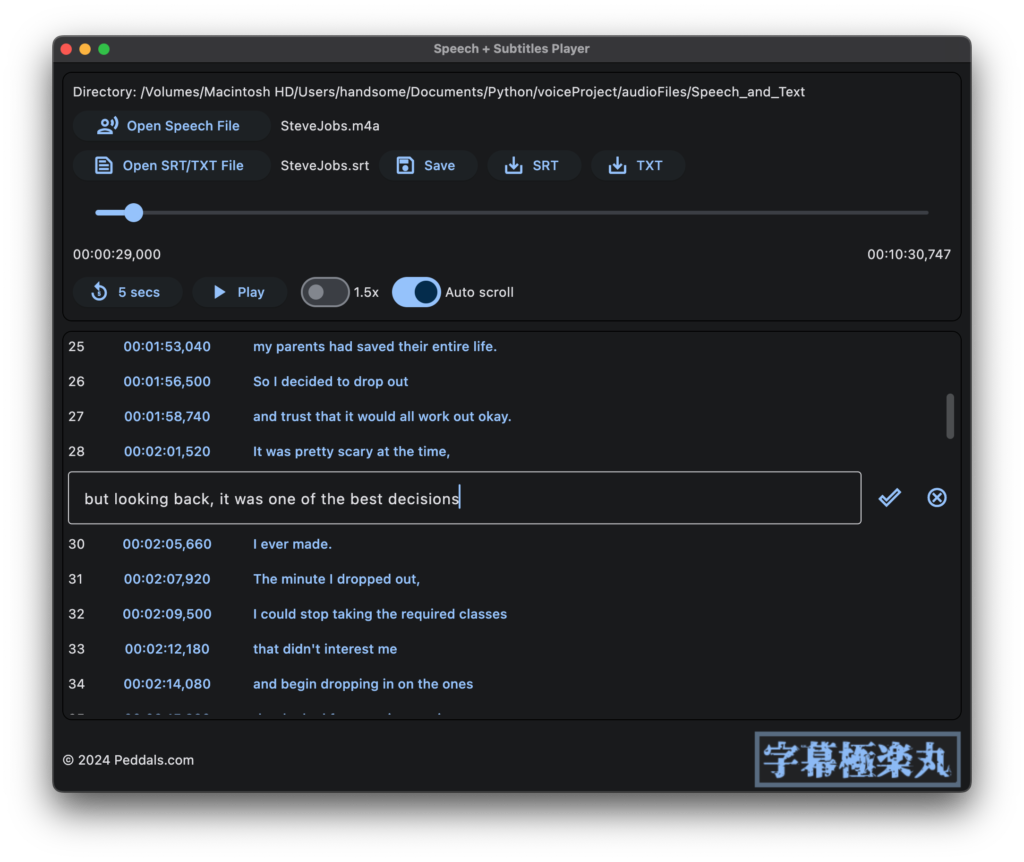
I call the app Speech plus Subtitles Player (SPSP or SPS Player) in English. I named it Jimaku Gokuraku Maru in Japanese (“jimaku” means subtitles), named after an old console game for Famicom, Jigoku Gokuraku Maru (“jigoku” means hell. haha). As my app is an open source software it really does not matter, but I also created a cool logo using a free Japanese font Gen Kai Min Cho from Flop Design. Anyways, with SPSP, you can play audio file and edit subtitles (SRT file) generated by Whisper or any other speech-to-text tool quite easily. Subtitles scroll in sync with the audio, and the UI is intuitive.
How to use SPSP
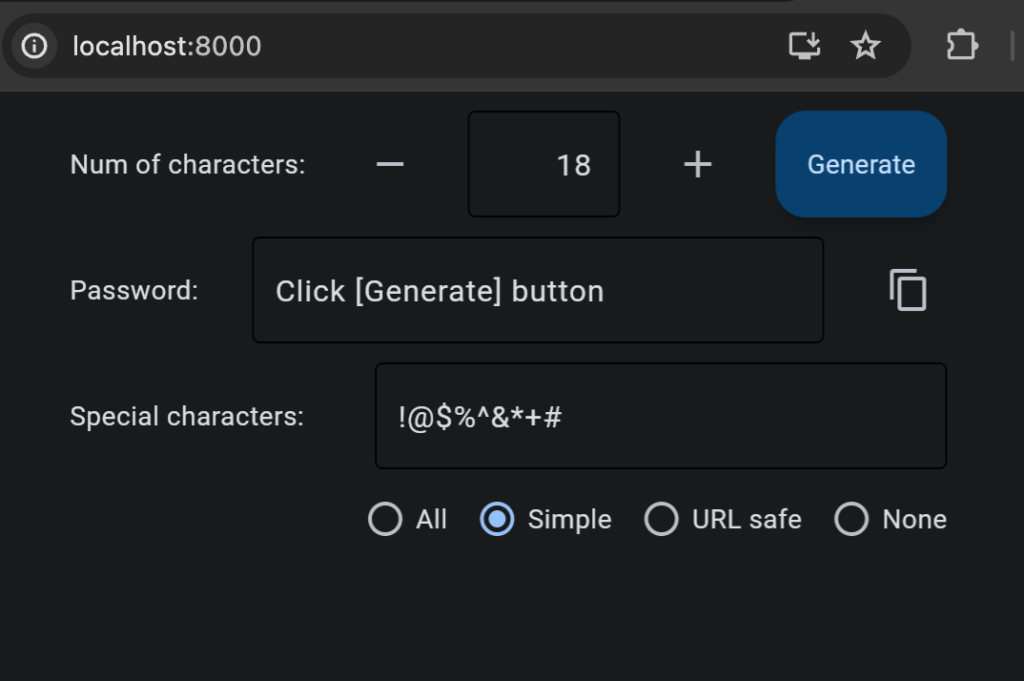
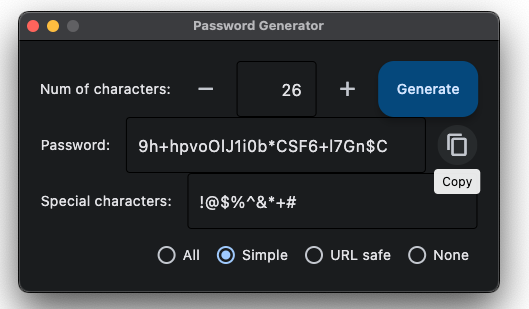
(See “How to run SPSP” below to run the app.) When you load an audio file using the Open Speech File button, if a subtitle file (extension .srt) or text (extension .txt) with the same name exists in the same folder, it will be automatically opened. The Play button plays/pauses the audio and the subtitles (SRT file) scroll along with the audio. Click on the timestamp to cue there. Click on the subtitle area to edit the text. The edited texts will be overwritten in the same file by clicking on the Save button. The SRT and TXT buttons will exported as separate files. The 1.5x and Auto scroll switches allow you to turn on/off 1.5x faster playback speed and automatic scrolling of subtitles (auto scrolling is only available for SRT format). There is currently a known issue where clicking the Open/Export as button does not open the dialog and the entire app stops working sometimes for some reason. Please be sure to click Save frequently when you’re editing.
When exporting as TXT, it does not include timestamps, so auto-scrolling within the app is not possible, but it is useful for various purposes such as meeting minutes and reports. SRT is a popular subtitles format (Wikipedia), and if the original audio data is a video, it can be imported as subtitles data using video editor software such as DaVinci Resolve.
Target users and use cases
The main target users are those who want to embed subtitles in own videos, typically YouTubers. Also, SPSP is useful for engineers who verify the accuracy of transcription AI, including Whisper, and operators who write conversation reports at call centers. In addition, it can be useful for meeting minutes, or for learning foreign languages (despite the accuracy varies, Whisper supports quite a few languages: Supported languages ).
How to run SPSP
Although I say it’s an “app,” it is currently not possible to build as executable that opens by double-click. You need to set up an environment and run a command to launch SPSP. I figured out how to avoid crashing and errors to build this app. Please see my another post if you wan to build. If you are using Windows or Linux, you may need to take additional steps, so please refer to the Flet official documentation. The code of SPSP is on GitHub:
https://github.com/tokyohandsome/Speech-plus-Subtitles-Player
Clone the code, create a Python virtual environment, and install Flet and Numpy
Python version has to be 3.8 or newer (mine is 3.11.7) The example below specifies python 3.11 and uses pipenv, but any virtual environment is fine.
git clone https://github.com/tokyohandsome/Speech-plus-Subtitles-Player.git
cd Speech-plus-Subtitles-Player
pipenv --python 3.11
pipenv shell
pip install flet
pip install numpy
Run the app
Once the environment is created, you can run the app SPSP with the command below.
python main.pySelect audio file
After launching, click the Open Speech File button and select an audio file such as MP3 or WAV. The first time on macOS, you will be asked if you want to give access to your Documents folder, so please approve. If there is a file with the same file name and .srt (or .txt) extension in the same folder, it will be loaded automatically. You can also manually load subtitles file after loading an audio file.
Known issues and limitations
I don’t think there are any critical issues, but just in case, you might want to keep copy of subtitles file in a different location before opening in SPSP. Here are some known issues and limitations:
- If there are many subtitle buttons, it will stutter when moving or resizing the window.
When you build app by–> This is now resolved by eliminating NumPy.flet build macos --include-packages flet_audio, built app crashes (Flet version == 0.21.2). If you want an executable and don’t need auto-scroll, comment out the lineimport numpy as np.- Sometimes when you click the Open or Export button, the dialog will not open and you are unable to do anything other than closing the app. We are currently investigating the cause. Please save frequently.
- It seems that the sample rate of MP3 that can be played on macOS is up to 44.1KHz. If it is higher than that, please convert by using Audacity etc.
- Add audio file extension to the
pick_speech_filemethod if it’s grayed out. - SRT format originally seems to allow multiple-subtitle lines per block, but this app only expects 1 line. There should be no problem with SRT files exported with Whisper.
Bonus
I won’t go into details, but here are how to download online videos such as YouTube as audio files, and how to transcribe to SRT using mlx version of Whisper, which Apple has optimized for macOS.
Download online video as m4a audio file
ffmpeg will be installed system-wide. You better create a dedicated virtual environment.
brew install ffmpeg
pip install yt_dlp
python -m yt_dlp -f 140 "url_of_online_video"
Python script to transcribe audio file to SRT with Whisper
For macOS, create an environment where MLX version of Whisper can run, download whisper-large-v3-mlx from Hugging Face, and place json and npz files in mlx_models/whisper-large-v3-mlx folder. Then create the speech2srt.py file (below). Edit path_to_the_folder, audio_file_name and language='en' to meet your file/language. If you set a different language like ja, Whisper tries to transcribe and translate into Japanese, but quality is not good.
import whisper
import time
import os

base_dir = "path_to_the_folder"
speech_file_name = "audio_file_name"

start_time = time.time()
speech_file = base_dir + speech_file_name
model = "mlx_models/whisper-large-v3-mlx"

result = whisper.transcribe(
                            speech_file,
                            #language='ja',
                            language='en',
                            path_or_hf_repo=model,
                            verbose=True,
                            #fp16=True,
                            word_timestamps=True,
                            condition_on_previous_text=False,
                            #response_format='srt',
                            append_punctuations=""'.。,,!!??::”)]}、",
                            temperature=(0.0, 0.2, 0.4, 0.6, 0.8, 1.0),
                            )

end_time = time.time()
elapsed_time = round(end_time - start_time, 1)

print('############################')
print(f"Time elapsed: {elapsed_time} seconds")
print('############################')

def ms_to_srt_time(milliseconds):
    seconds = int(milliseconds / 1000)
    h = seconds // 3600
    m = (seconds - h * 3600) // 60
    s = seconds - h * 3600 - m * 60
    n = round(milliseconds % 1000)
    return f"{h:02}:{m:02}:{s:02},{n:03}"

subs = []
sub = []
for i in range(len(result["segments"])):
    start_time = ms_to_srt_time(result["segments"][i]["start"]*1000)
    end_time = ms_to_srt_time(result["segments"][i]["end"]*1000)
    text = result["segments"][i]["text"]

    sub = [str(i+1), start_time+' --> '+end_time, text+'n']
    subs.append(sub)

text_file = base_dir + os.path.splitext(os.path.basename(speech_file_name))[0] + ".srt"

# Overwrites file if exists.
with open(text_file, 'w') as txt:
    for i in subs:
        for j in range(len(i)):
            txt.write('%sn' % i[j])
Now run as below and an SRT file will be created in the same folder as the audio file. Please note that existing SRT file will be overwritten.
python speech2srt.pyMLX Whisper uses GPU. My M2 Max Mac Studio (30 core GPU) completes transcription about 1/6 of the audio length.
Image by Stable Diffusion
Increasing steps didn’t help fix scary fingers, also the good taste of both lady’s good faces focusing on speeches to transcribe couldn’t be kept. Larger steps does not always mean better quality or taste.
Date:
March 24, 2024 23:45:42
Model:
realisticVision-v20_split-einsum
Size:
512 x 512
Include in Image:
realistic, masterpiece, best quality, retro future, office ladies transcribing audio from record player
Exclude from Image:
Seed:
2389164678
Steps:
20
Guidance Scale:
20.0
Scheduler:
DPM-Solver++
ML Compute Unit:
CPU & Neural Engine